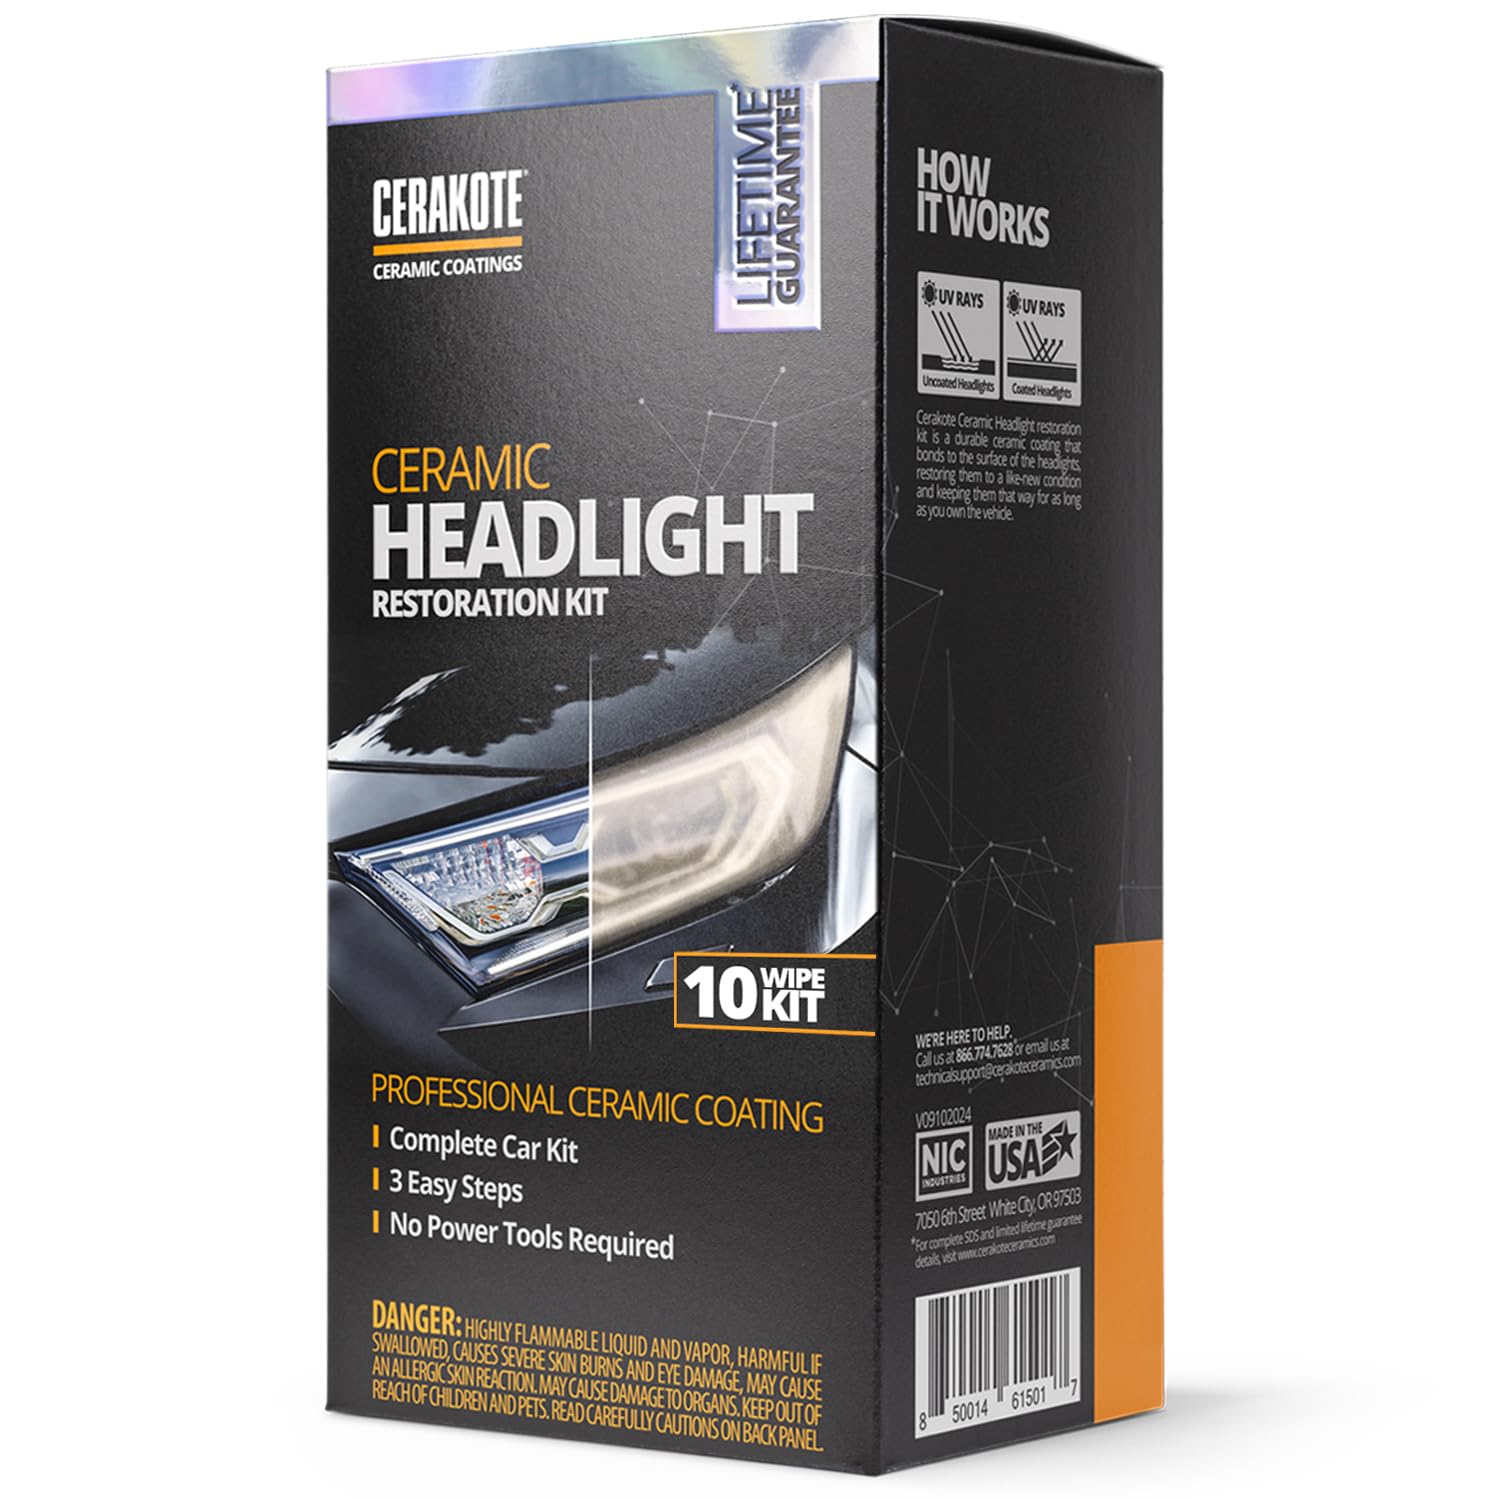
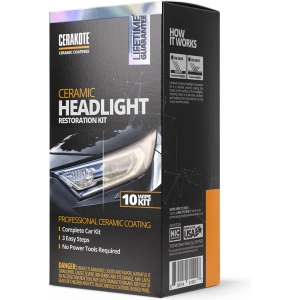
CERAKOTE® Ceramic Headlight Restoration Kit
Bring headlights back to like-new condition – guaranteed to last as long as you own your vehicle. No power tools required.
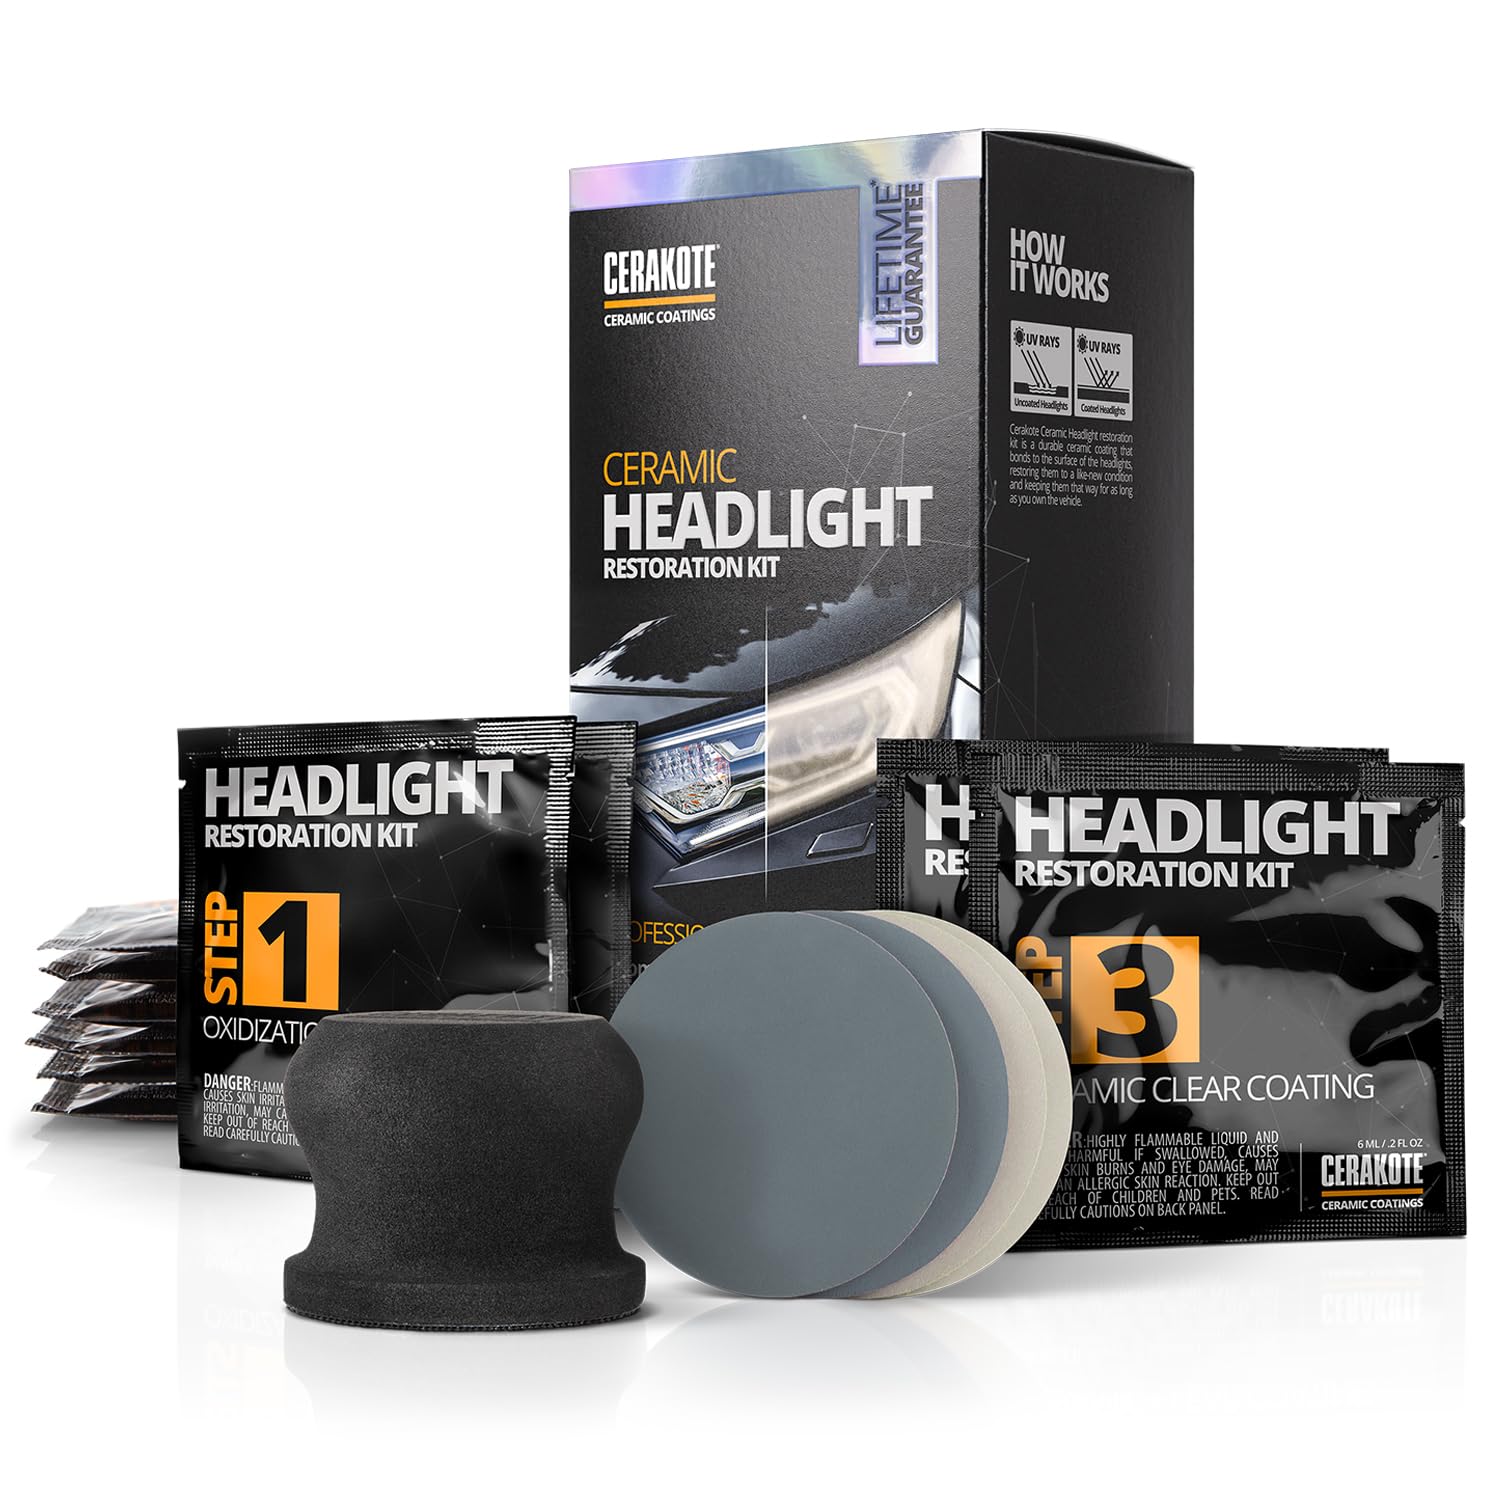
What’s in the kit
- 8 × Step 1 – Oxidation Removing Wipes
- 1 × Step 2 – Sanding Kit (all sanding materials included)
- 2 × Step 3 – Ceramic Coating Wipes
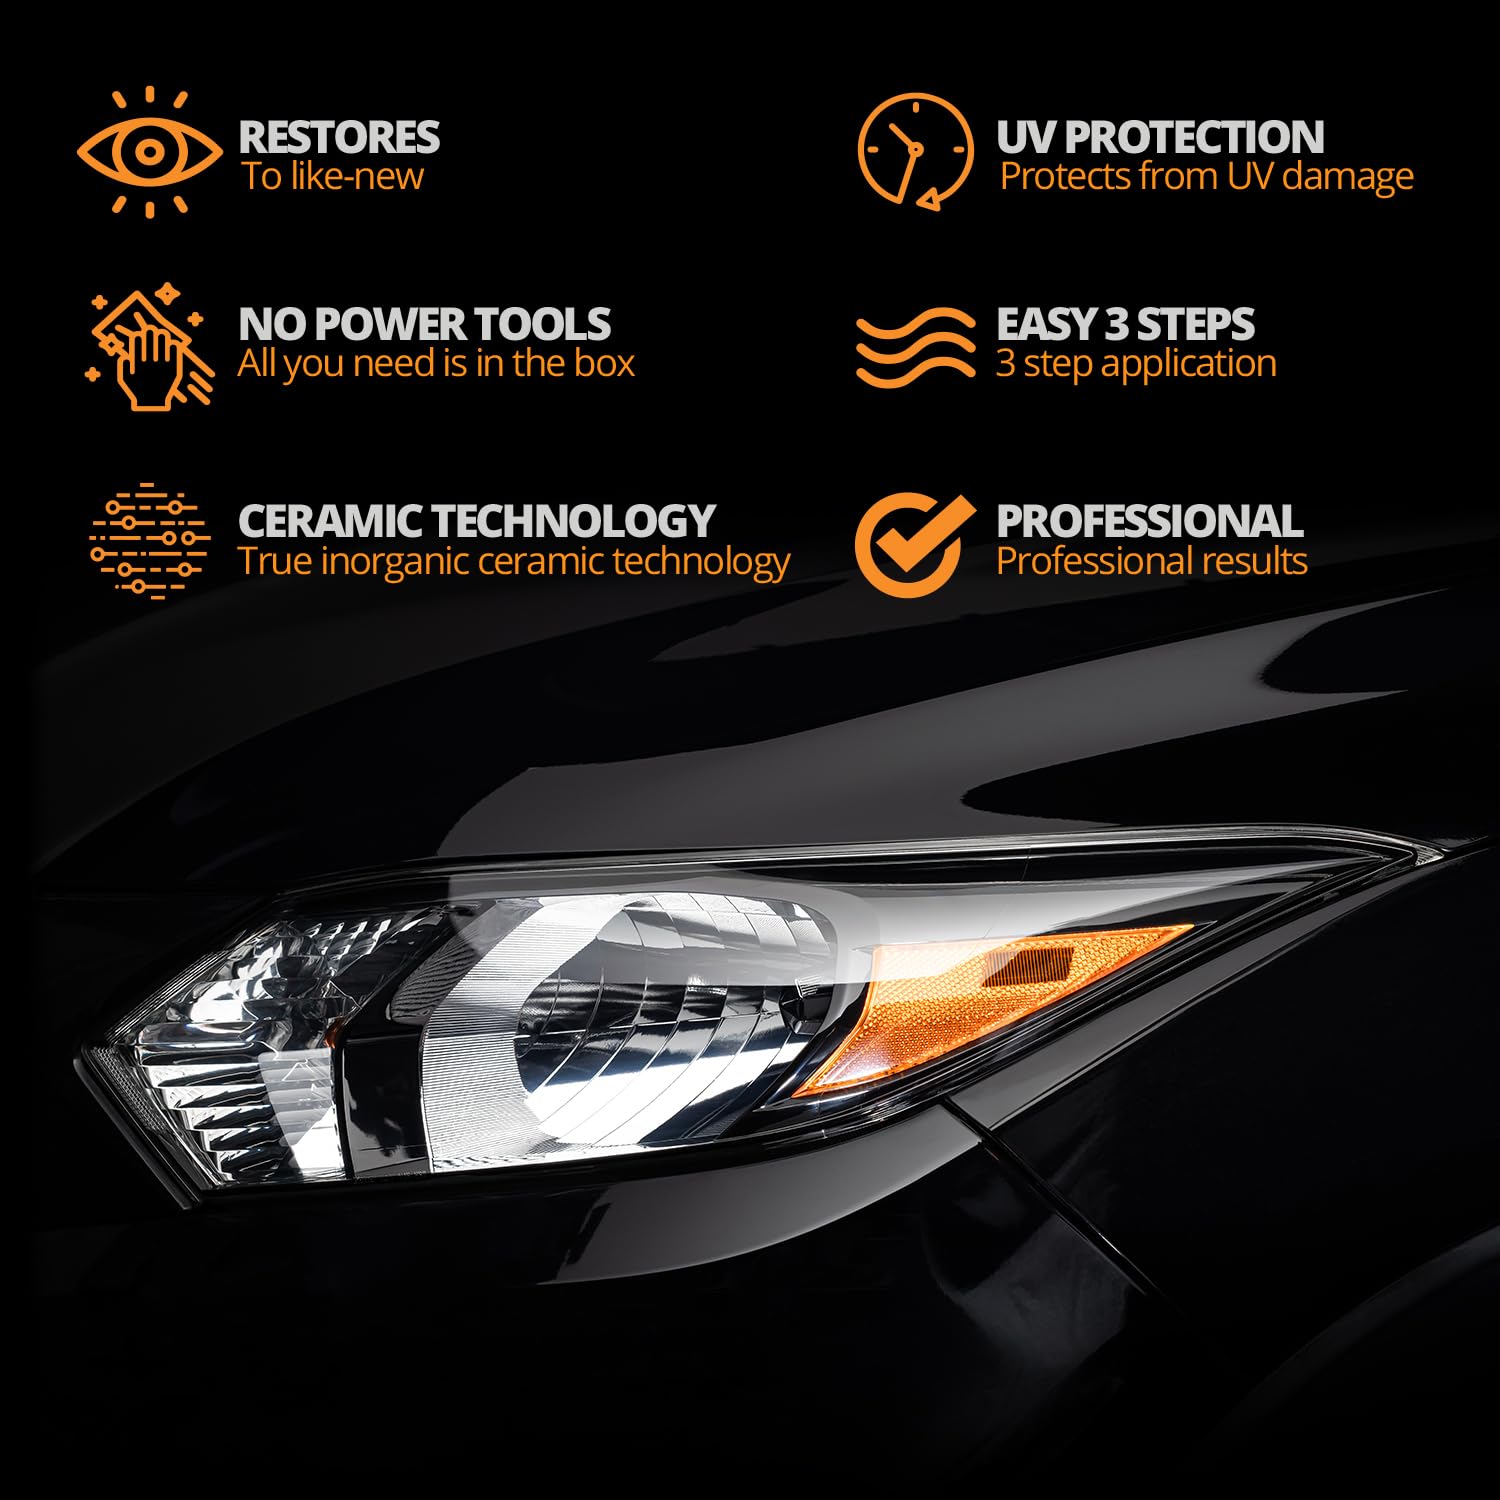
Why choose CERAKOTE®
- Lasts as long as you own your vehicle – a ceramic coating that chemically bonds to the lens and provides long-term UV protection.
- No power tools required – everything you need is in the kit, with no equipment that could damage headlights or paint.
- Restores and protects – removes oxidation and applies an industry-leading ceramic layer to prevent future UV damage.
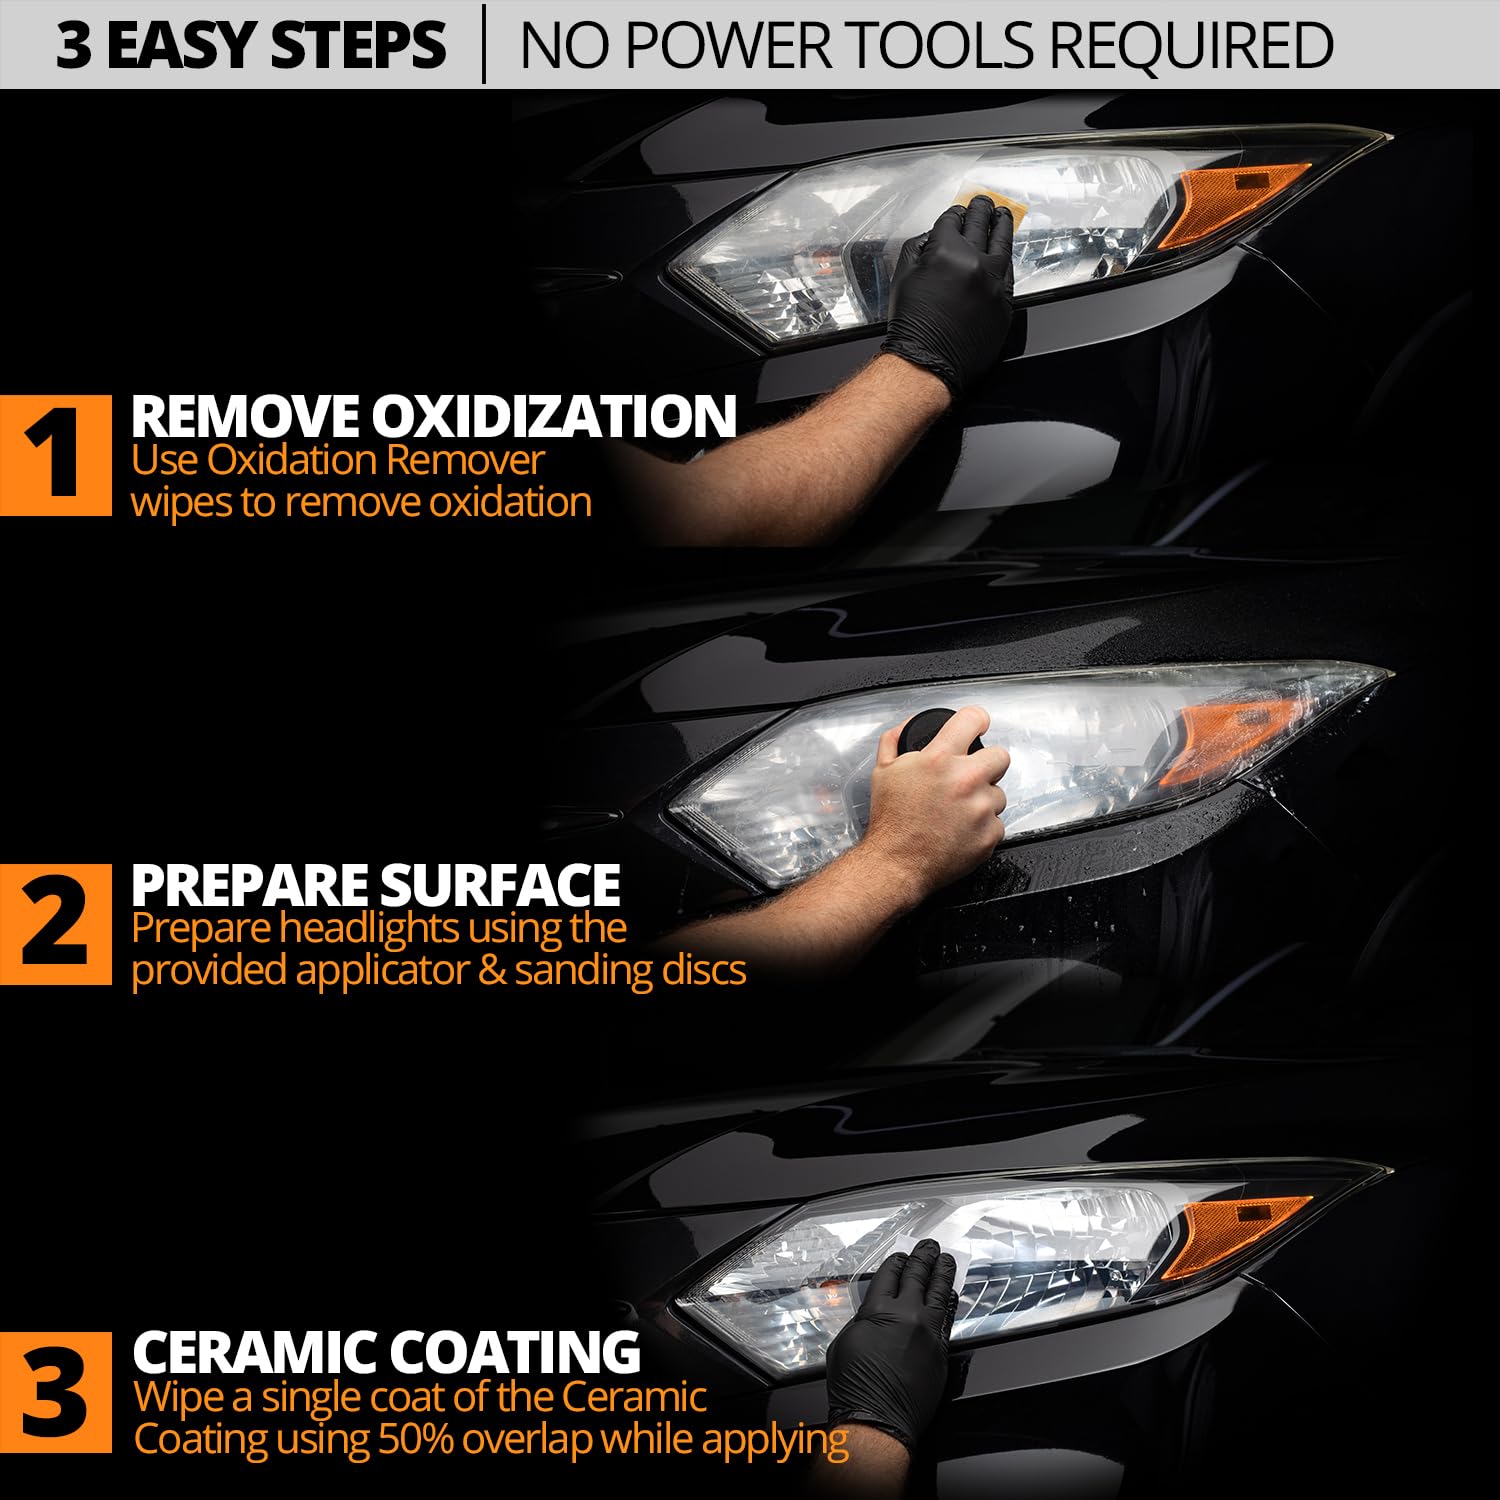
Fast, 3-step process (about 30 minutes)
- Step 1 – Use the Oxidation Removing Wipes to dissolve and lift away cloudy oxidation.
- Step 2 – Use the supplied sanding materials to remove any remaining deep oxidation and smooth the surface.
- Step 3 – Apply the CERAKOTE ceramic coating wipes to restore clarity and lock in durable UV protection.
Clean, simple, and effective – everything you need to restore and protect your headlights for the long haul.

KathyB. –
Nice and good
Terrier Mom –
Writing this review about a year after I used the kit and my headlights still look nice and clear. Even used it on the little area around my Honda logo. I like that I followed the directions and the process itself was fairly easy and fun to do (for a chore project). It is so nice when something really works and gives great results. The kit was reasonably priced and worth it. I also just bought and used the Cerakote trim restoration kit this morning, again without a lot of work, and got great results!
J –
Honestly, this is one of the best products I’ve ever used, across the board. It delivered the results that it promised. Super easy to follow directions when watching the video. Doesn’t take long at all, and when you’re done, the results are night and day. The results have lasted too! My lenses look brand new. I’m going to buy two more kits for my other two vehicles. I’m blown away by how good this product worked. Truly. The price is right too. Saves a ton of money from having to buy new lamp assemblies, that’s for sure!
Amazon Customer –
The CERAKOTE® Ceramic Headlight Restoration Kit completely exceeded my expectations. I’ve tried other restoration products in the past, but nothing has come close to the clarity and long‑lasting results this kit delivered. The instructions were simple, the process was quick, and the transformation was dramatic. My headlights went from dull and hazy to crystal clear in under an hour.
What impressed me most was the ceramic coating step. Instead of the temporary shine you get from many kits, this one leaves a durable, protective finish that actually lasts. Weeks later, my headlights still look freshly restored, with no yellowing or fog creeping back in.
If you want a professional-quality result without paying shop prices, this kit is absolutely worth it. It’s easy to use, highly effective, and gives your vehicle a cleaner, newer look instantly. I’d recommend it to anyone who wants to restore their headlights with confidence.
Neil –
Das Ergebnis war wirklich phänomenal und ich kann es jedem empfehlen. Meine Scheinwerfer waren zuerst komplett matt. Nach der Anwendung waren sie wieder klar und sehen wie neu aus. Das Set ist einfach anzuwenden und die Anleitung ist sehr verständlich. Wenn man sich exakt nach der Anleitung hält, dann kann absolut nichts schiefgehen. Das Preis-Leistungs-Verhältnis ist top. Ich würde das Produkt jederzeit wieder kaufen.
GeeCee –
I rarely write reviews unless I really like a product. This headlight cleaner was amazing. I have a 20 year old car and the headlights were super yellow. After using this product it looked brand new. I could not believe how clear the headlight was and how much better I could see at night. The process was simple and quick. Highly recommend.
Rodrigo V. –
I very rarely write a review on products I buy from Amazon because what one person finds good another might find bad so I think reviews are subjective! But I’ve decided I needed to write a positive review on this product, it has absolutely transformed my old fiesta headlights and they are looking like new, I just wish I’d taken some before and after photos!
I followed the instructions which were easy to understand and with just a little time and effort my headlights are totally transformed! Time will tell how long before they become oxidised again but if it lasts the year it was well worth the £18! I would definitely recommend this product and would definitely buy it again
Amazon Kunde –
Muy facil, muy entendible la aplicación, el paso 3 los deja como nuevos, en mi casi estan amarillos por dentro pero muy satisfecho, alcanzan hasta 2 carros con un kit talvez 3
J –
Worked great on my 2014 Toyota RAV4. The headlights were pretty cloudy, and although it was a fair amount of work, I followed the directions and took my time. The headlights looked almost new when complete. It’s sure better than replacing them at $350-$400.
Chance –
This product works so well, the amount of effort and time you spend on it is far exceeded by the results, it’s almost like magic. Look at my before and after pictures and see for yourself.
The headlights I used this on were oxidized, I normally use headlight polish on it every month or so to clear it up but it takes a lot of effort, the results aren’t amazing and it only lasts a few months. The before pictures show the extent of it after a complete wash and wipe down with isopropyl alcohol. The instructions were clear, though I did notice one typo, it mentions to use a red sanding pad followed by gray, but my kit came with red and green, I just assumed green for gray and it was fine.
After washing the headlights you must dry it thoroughly and if you sprayed water all around, dry or soak up as much water from the surrounding area as possible. This is important, you don’t want wind to move standing water so that it sprays onto the headlight at the worst time (like the clear coat step), take no chances. If you have an electric duster, an 18V job site blower, or an air compressor, use those to blow all standing water away.
If you get water into the hood while washing, don’t lower the hood until the headlights are fully done and you waited for the clear coat to dry/cure completely according to instructions. The hood in the up position can hold water in it, it has drain holes to drain water out when it’s laying down flat, if you lower the hood before the clear coat is dry the water will run out of the drain holes right onto your uncured headlights, leave the hood up.
Most of the time and effort you spend will be on the sanding step and that depends on the size of your headlight and how intricate it is, headlights with intricate designs and reliefs will be annoying, you’ll have to use the sandpaper by itself without the foam grip and fold it and spend a lot of time on edges and corners. In addition to the instructions I highly recommend you mask off the entire surrounding area with painter’s tape, make sure you fold the painter’s tape over and into the gap between the headlight and the bumper or fender.
The nail biting part is at the end when you’re applying the clear coat, you obviously don’t want to mess it up, you’re undoubtedly going to notice you missed a tiny spot, despite the directions saying not to go over it in multiple passes, I did it anyway and it turned out fine, you just want to do it quickly before it has time to set. The clear coat is sorcery, it self levels, I even saw a few tiny air bubbles and those all disappeared, after an hour it was dry and the finish not only looked 100% clear, it was completely free of defects and texturing, it literally (I can’t emphasize this enough) looked like a brand new headlight. I expected a clear coat applied with a small gauze pad to be uneven, have visible strokes and texturing (like brush strokes), instead it’s completely level with no marks and has no texture whatsoever, when I rub my fingers over it the surface feels shiny, reflective, slippery, like a new headlight. The result was so good I kept staring at it for over ten minutes at all angles.
The whole job probably took me roughly one and a half hours from start to finish including masking, washing and drying the headlights. The sanding steps take the longest, the clear coat step is done in a minute or two. Time will tell how long it will last, if it even lasts a year I’ll be happy.
The pictures show driver’s side “before” (I didn’t take a picture of passenger side “before” but it looked the same), then an after shot for both driver and passenger side.
Some things about the “before” shot:
1. It may look like light oxidation because you can still see through it, that oxidation is lighter than it normally would be, it hasn’t been that long since I last polished it with headlight polish. Had I left it for a few more months it would have become totally opaque.
2. If you’re wondering why there’s a sharp line where it becomes completely transparent, that’s where the hood sits and blocks the UV (like a farmer’s tan).
Amazon Customer –
This Headlight Restoration Kit made me a believer – I’ve used similar products before but this Cerakote’s Headlight Restoration Kit was both easier to use and the results were amazing! My son has a 2002 Infinity and the headlights were so fogged and yellow I figured we needed to purchase entire new headlight assemblies. But that option was going to be too expensive for this car. I read the reviews and figured it was worth a shot. Results were immediate and I am thoroughly amazed with the results and my son saved $$$ with this Headlight Restoration Kit. The instructions are detailed and step-by-step and we followed them exactly. I still find it hard to believe these old foggy, yellowed headlights turned out looking so clear – NO yellow – just crystal clear. And when driving at night he says the headlights are so much brighter which improves safety too. The whole car looks better with these clear and shiny ‘like new’ headlights. The product description, photos and all the positive reviews are consistent with our results. One of the best and most affordable improvements to my son’s car🚗
Nice Item and great Deal for me –
I used this headlight restoration kit and the results were exactly as mentioned in the product description. My car’s headlights were yellow and dull, but after following the steps in the kit, they became clear and bright again. The process was simple, and all the required materials were included.
The final finish looks almost like new, and the light output has improved a lot. Definitely worth the money and highly recommended for anyone wanting to restore their headlights without replacing them.